Tagged: tank top
Wabi Slobby Style Shibori
I hope you’ll pardon my absence. My kids are finally out of school for the summer and we’ve been busy doing, you know… Stuff. So far this summer, we’ve made Sharpie tie-dyes, gone to an all-day kickball party (Huge thanks to Josh and Sarah for hosting yet another year), spent somewhere near 50 hours in various pools, hosted a sleepover, made sun prints, visited the Renaissance Festival -twice- , visited the zoo, harvested and eaten veggies, fruits, herbs, and flowers from our tiny garden, caught lightning bugs (aka fireflies for those of y’all not raised in The South), and generally goofed off and hung out in PJs or swimsuits whenever possible. That is the Wabi Slobby Way.
But my most recent project was particularly satisfying. Firstly, it was easy. Secondly, it can be as complicated and educational as you feel like making it. Thirdly, the results were so much better than I ever hoped for.
Fourthly, it was easy. Fifthly, it was ~ MESSY~ with the excellent possibility of permanent staining of unintended areas! Sixthly, it was easy. Did I mention it was easy? Because it was. Easy.
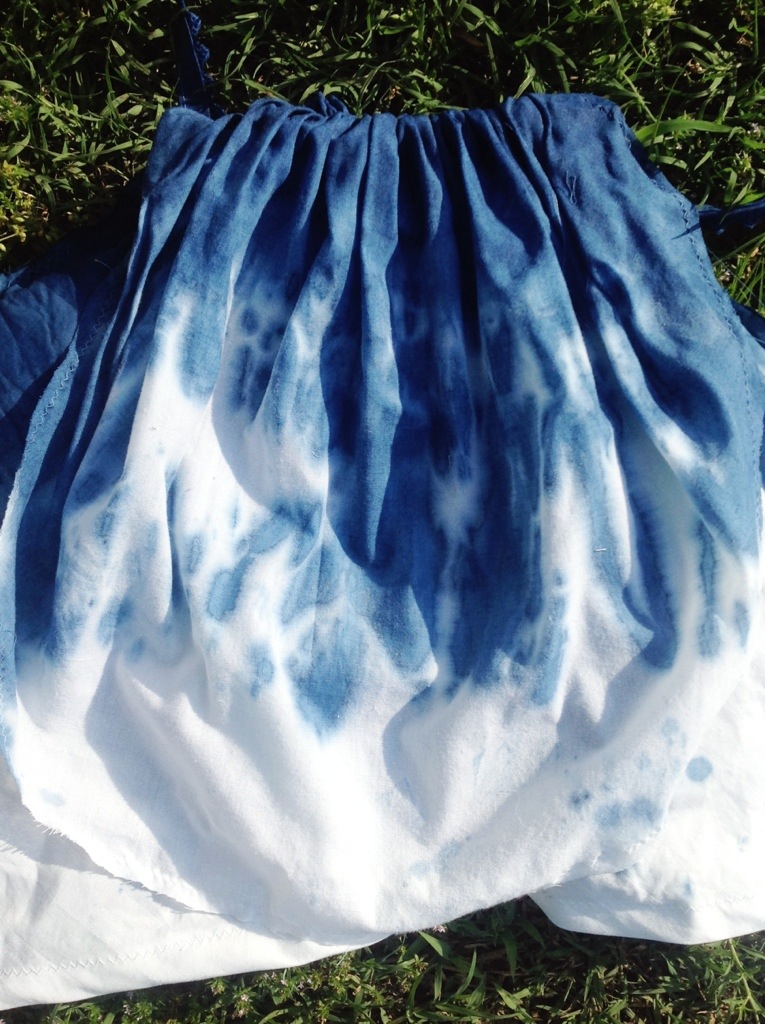
So beautiful, right? And easy!
To do your own Shibori Experiment, you will need:
1 Indigo Dye Kit (I got mine here at Dharma Trading Co..)
1 Five-Gallon bucket (an old, clean pickle bucket from a restaurant is one source, but I have seen them for sale in hardware stores that sell paint. You could probably also use a plastic storage container in a pinch. You could even use a 5-gallon trash can if you can do all your dyeing in one shot.)
Clean, white items made from natural fibers. You can use things like cotton / cotton-rich sheets, cotton t-shirts and tanks, other clothing items made from cotton, linen, silk, flax, hemp (it would probably work for wool, leather, and fur, too, since it stains skin and hair as well as lots of other stuff). Fabric yardage should be basted (sewn around the edge to keep it from fraying) and washed before dyeing.
A big stick or spoon that you are willing to give up forever.
A big container full of clear water. (I used a plastic storage container, as you can see)
A place to lay or hang your still dripping, freshly dyed stuff.
Go. Gather up those things. I’ll wait… Just know that I disregarded many of the instructions involved and my projects still turned out pretty darn cool. So use whatever you’ve got on hand… Experiment… Make it your own.
Ready? Let’s get started with Shibori Dyeing, Wabi Slobby style.
1. First, take all the stuff outside. Trust me when I tell you that you do NOT want to do this project indoors. You’ll fill your 5-gallon bucket with about 4 gallons of water. I eye-balled it. You can choose to be more precise, if you wish. Fill the other big container about 1/2 full of water, also.
2. Next, put on the gloves that came with your kit. And safety goggles might not be a bad idea. Yeah, I said it. If you want to stay stain-free, this probably isn’t the project for you. But you could, theoretically, wear a work apron, artist’s smock, coveralls, or other namby-pamby OCD gear. You could also just wear old clothes that you don’t mind staining.
3. Now, carefully open the “chemical” packet from your kit containing the soda ash and pour it into your 5-gallon bucket. Gently stir it with your big old stick. You want to avoid getting air bubbles in your dye water because the process involves oxidation. Next, ~ c-a-r-e-f-u-l-l-y ~ open the Pre-reduced Indigo Crystals and pour those into the 5-gallon bucket, also. Use your big old stick to gently stir the dye mixture. Again, avoid getting air bubbles into the dye bath.
4. At this point, you’ve got to let the dye bath settle. The instructions suggest letting the dye sit undisturbed for an hour or so. This would be a great time to read the brochure that came with your kit about “The History of Indigo” so you can fill your head with interesting facts for cocktail parties banter and soccer sideline chit-chat. You could also do some research on different Shibori techniques, then use them. Tie-dye techniques also work, but you’ll only be using one color. The dye bath can actually sit for quite a while, at least a few days and maybe even up to a few weeks (!), so take your time.
5. Now, here’s where I diverged a bit from the written directions. First off, I didn’t stir it “just right”. Then I didn’t scoop out the “bloom”. Mostly because I forgot, but also because I didn’t care if things came out splotchy and spotty. I also had some items that I soaked in water before dyeing (as the instructions suggest) and some that I dyed dry to see if the color would be more crisp and intense. So I will leave it up to you. Follow the directions in the box for a more consistent, controlled look or “play it fast and loose” for a completely unpredictable result. Soak un-dyed items in clear water or not, now.
6. I diverged from the instructions here, too. My original idea had been to use a turkey blaster to dribble the dye on, but I couldn’t find it. Darn kids. Instead, I used a plastic 1/2 cup measuring cup that can be retired from food use. For some of the more free-form, striped designs like these:
I loosely accordion folded the fabric at one long edge and put a rubber band around the folded portion. You can see the long yardage soaking in the bucket here with the rubber band on the edge as well as some other twisted and folded pieces, including the tank tops.
Then, I pulled the yardage from the water and squeezed out just a bit of extra water, held it over the dye bath by the rubber-banded “top”, twisted it and scrunched it together a bit, then used the measuring cup to dip out some dye and dribble it around the item and down toward the bottom. To minimize splashing (and oxidization), I trailed just the edge of the fabric into the dye bath.
I also dipped some pieces, both fully and partially, and poured the dye over other pieces. I probably shortened the life if the dye by introducing air, but I like to live dangerously.
7. The piece should IMMEDIATELY begin to turn from dark yellowish-green to the characteristic indigo blue. I let the dye drip back into the dye bath to minimize the mess a little, then took each piece and layer it out on the grass, in the sun, to dry and oxidize.
8. At this point, you could do a little research and talk to your significant other, roommate, child, etc. about the oxidization process and other chemical reactions. They will start to think of you differently. Like a more science-ey version of yourself.
9. To get deeper, darker color, you can repeat the process beginning at soaking the item in clear water (or not) as many times as you’d like.
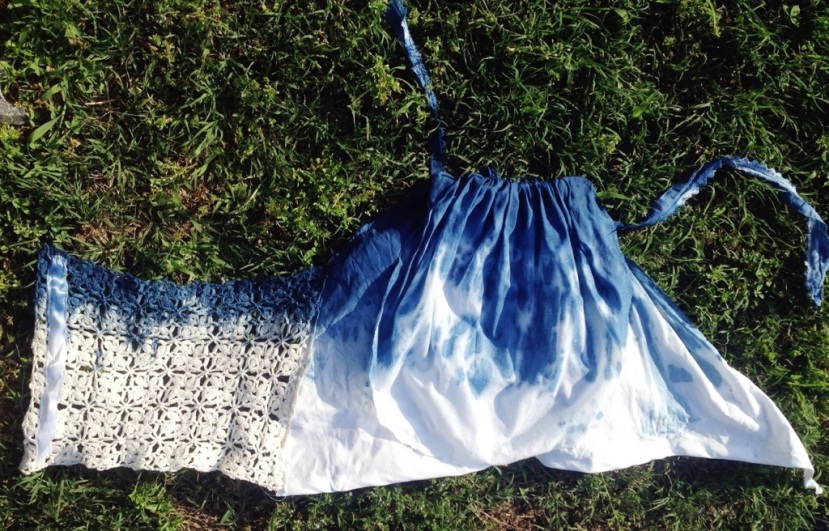
Here’s how mine turned out. What do you think? Does this inspire you? Confuse you? Make you want to throw your hands in the air and wave them like you just don’t care? Let me know.
Many of these items will be available for purchase at my Etsy Shop, Two Horse Shoe, within a couple of days.
Coming up soon, a tutorial on some actual Shibori techniques I used on some of the items I dyed.


